When do we need an iPhone Data Recovery program?
There are so many unexpected reasons will causing data losing, such as iPhone stolen, damaged or got lost, accidental deletion, factory reset, virus attack, jailbreak or even error operations. Data loss is a distressing and serious thing, especially when the lost or deleted data mean a lot for you. You may ask: Is there any effective way to recover lost vital infolike contacts, messages, precious photos, favorite songs and even some confidential business info in our iPhone from iPhone 6S/6S Plus/6/6 Plus/5S/5C/5/4S/4/3GS? The answer is "Yes". That's why you need the data recovery software to help you recover those deleted or lost data.
In this article, we list you top 5 iPhone data recovery software in 2015. Read the reviews and pick out the one you prefer.
2015 Top 5 Best iPhone Data Recovery Software
Top 1: Wondershare Dr.Fone for iOS
Wondershare Dr.Fone for iOS (Mac) enables you to recover data deleted from your iPhone/iPad/iPod touch with Recover from iOS Device and Recover from iTunes Backup. It supports all old and latest iOS devices. As one of top data recovery software, it helps you get lots of deleted or lost files back, like photos, contacts, text messages, notes, reminders, calendar, Safari bookmarks, app data and so on.
Main features:
1.Recover data from iOS devices, iCloud backup and iTunes backup file.
2.Available to recover messages, voicemail, contacts, notes, call history, calendars, Facebook Messenger, bookmarks, etc.
3.Recover App data like WhatsApp, Instagram, Flickr, iPhoto, iMovie, Kindle, etc.
4.Fully compatible with Windows 10, iTunes 12.2.1, iOS 9.
5.Supports iPhone 6s/6s plus/6/6 Plus/5s/5c/5/4s/4/3GS, iPad mini with Retina Display, all iPads and iPod touch.
Pros:
Intuitive user interface;
Fast data recovery speed;
Preview lost files before launching data recovery;
Desktop software has both Windows and Mac versions that support all iOS devices.
Cons:
Not all files can be previewed before recovery.
Can't recovery everything deleted
And the price is a bit high.
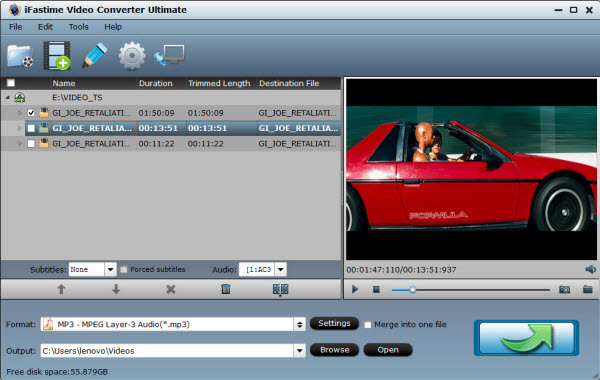
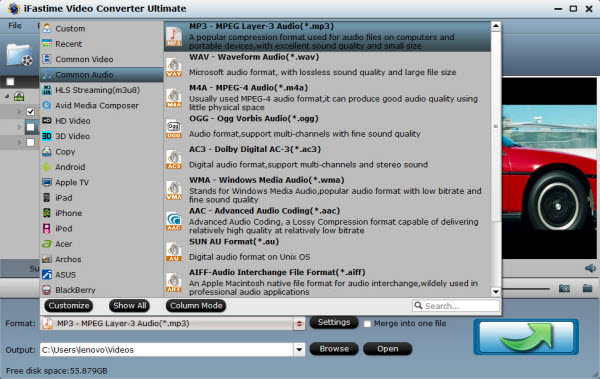
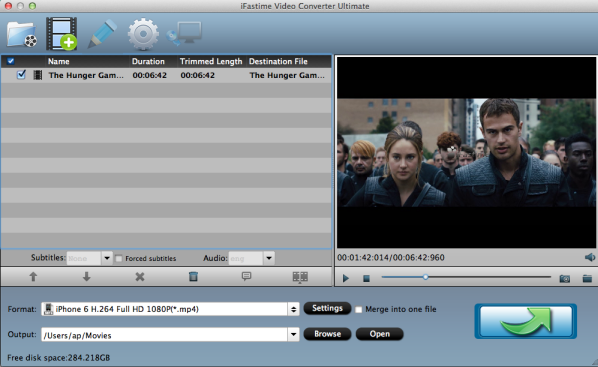
Software interface screenshot:
Download iPhone Data Recovery Software for Mac/Win:
Top 2: EaseUS MobiSaver
EaseUS MobiSaver is the best iPhone data recovery software that is totally free of charge. It supports iPhone data restore on both Windows and Mac caused by device damage, jailbreak, loss and iOS upgrade. Compatible with iPhone 6s, iPad Pro and iOS 9 compatible, this free iPhone data recovery app helps you recover photo, contact, SMS, call log, etc data for iPhone if you have iTunes backup.
Main features:
1.Recover up to 12 Types of Data including contacts, SMS, reminders, call log, photos, camera roll, etc.
2.Rescue iTunes encrypted backup.
3.Recover iPhone/iPad/iPod touch Data from Various Data Loss Circumstances.
4.iPhone 6s, iPad Pro and iOS 9 compatible.
5.Three recovery modes for you to restore your data back.
Pros:
Simple and easy to use for all
Totally Free Data Recovery Tool
This software has windows and Mac versions
Cons:
No iCloud backup support
Not always able to retrieve lost data
Difficult to connect to iPhone
Take a while to scan your iOS device
sometimes stuck in the process of connecting to iPhone.
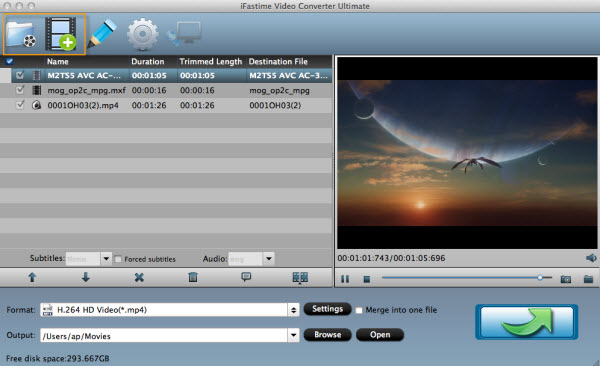
Software interface screenshot:
Top 3: Tenorshare iPhone Data Recovery
Tenorshare iPhone Data Recovery, being the best iOS devices data recovery software, supports iPhone data recovery directly from iPhone with or without iTunes/iCloud backups. If you lost data after upgrade to iOS 8 or due to iOS crash, download this best iPhone data recovery software and you are allowed to enjoy a time-limited free trial to do the iPhone data recovery. Fully support iPhone 6s Plus/6s/6+/6/5s/5c/5/4s/4 iTunes 12.2 and iOS 9.
Main features:
1.Recover up to 20 types of data directly from iPhone without backup
2.Three recovery modes for you to recover iPhone data
3.It supports to sync recovered contacts, messages and notes directly to iPhone
4.Extract, restore, backup data from iTunes backup files to computer
Pros:
Neat and intuitive interface
Fast data scan and recovery speed
Retrieves almost any file from damaged, crashed, broken or smashed iPhone
Totally free trial for a limited time
Cons:
Too expensive ($ 139.95)
Found files are not sorted in "Folder"
You can only view them in "File Type"
It only supports iPhone
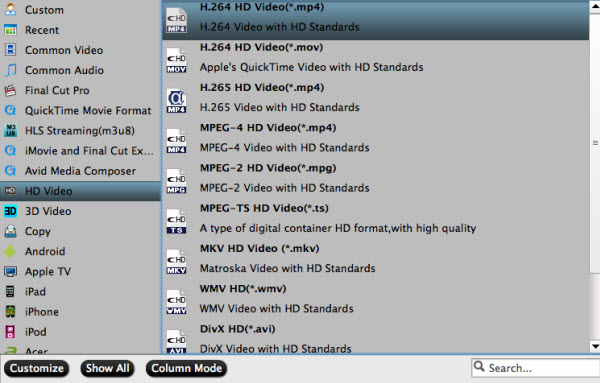
Software interface screenshot:
 Top 4: iSkysoft iPhone Data Recovery
It is a one-stop data recovery solution to restore iPhone photos, contacts, messages and more in a few clicks. This iOS recovery software can extract and recover what you want from iCloud and iTunes backup, including photos, app photos, mesages, contacts, call history, voicemail, WhatsApp messages, Notes, Calendar, Reminder, Safari bookmarks, voice memo and app documents.
Main features:
1.Recover up to 9 types of data directly from newest iOS devices
2.Recover up to 17 types of data from iTunes/iCloud backup file
3.Can fix the "recovery mode loop" problem for your iOS devices
4.Support 3 kinds of data recovery mode
5.Fast, easy and powerful iOS recovery software
Pros:
It provides a free version
Easy to use interface
The ability to recover data selectively is a real boon
Capable of finding and restoring a number of file types
Repair the operating system of your iPhone, iPad and iPod touch
Cons:
Takes a while to scan devices completely
Very expensive, it costs $69.95
Software interface screenshot:
Top 5: WinAVI iPhone Data Recovery
WinAVI iPhone Data Recovery is a data recovery tool only for Windows and iPhone users, supporting data rescue on iPhone 4S, iPhone 4, iPhone 3GS and the previous. This data recovery software can auto-scan, index and search data on your iPhone. Beside, you will be able to preview and select video/photo/contact data for recovery.
Main features:
1.Auto-scanning, indexing and searching.
2.Preview enabled before restoring.
3.Files sorted by size and Contacts from A-Z.
4.Easy-to-operate and user-friendly interface.
5.Recover and export your iPhone contacts to vCard(.vcf) file.
6.Recover and Export lost or deleted call history from iPhone.
Pros:
Recover and Export lost or deleted iPhone Message to .xml file function added.
Cons:
Limited devices supported
Lack of continuous upgrade.
Very expensive, it costs $ 69.95
Supported OS: Windows XP/Vista/7/8 & iPhone 4S/4/3GS/3G
Only output Photos (.JPG), Contacts (.CSV, VCF), Messages (.XML)
Software interface screenshot:
Buy iPhone Data Recovery Software for Mac/Win now:
When you're looking for data recovery software to help you recover deleted or lost data on your iOS device, what other extraordinarily elements or features you will refer to? Or what do you extremely want it to do for you? If you have any opinions or other wonderful data recovery software for iOS recommendations, welcome to share with us in the Comment Section below.
Additional Tips:
What Can iPhone Data Recovery Software Do?
1. Restore iPhone Lost Data After Jailbreaking.
Is there a way to restore the content of my iPhone after jailbreaking? If you synchronize your iPhone with iTunes before doing the jailbreak, this won’t be a problem. You can use an iPhone data recovery to recover all of the content.
2. Unlock Your iPhone Screen without Forgotten Passcode.
If you unfortunately forget your iPhone screen lock password, the only way to solve the problem, besides from entering the code, is to restore it to its factory settings. After you restore your iPhone to factory settings, use an iPhone recovery software to help you recover your data.
3. Recover Data from iPhone After Restoring to Factory Settings.
Factory Setting causes all data loss of iPhone. What can we do to get all of them back? Undoubtedly, you need an excellent data extractor for your iPhone.
4. Retrieve iPhone Deleted Data Due to Misoperation.
If you delete your iPhone contacts or messages by mistake, the best way to recover these data is choose Cisdem iPhone Recovery to fully recover your deleted data.
5. Recover Data from Damaged/Crashed/Smashed iPhone.
An iPhone recovery software is always here to retrieve iOS data lost due to iOS upgrade, jailbreak, accidental deletion, virus attack, restoring to factory settings, etc.
6. Restore iPhone Data from iTunes Backup.
iPhone recovery tool can help you restore iPhone data from iTunes backup. It automatically categorize your files before you preview the contents. Check the information in detail and then selectively restore the desired files.
7. Retrieve iPhone Data Without iCloud Backup.
iPhone data recovery is a program that you can recover data from iPhone 6, ,6 plus, 5S, 5C, 5, iPhone 4S, iPod touch 5 or iPad mini without iCloud backup file. These best iPhone data recovery software will help you recover your iPhone data with no hassles.
Related Software
Wondershare MobileTrans: One-click phone transfer tool to let you transfer data between Android, iOS, and Symbian devices.
Have more questions about this Top 5 Best iPhone Data Recovery Software review, please feel free to contact us>> or leave a message at Facebook.
More Topics: